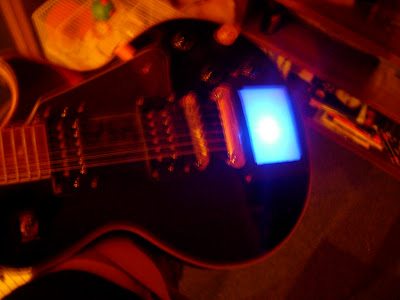

So these are those ultra bright LED's I got off eBay. The resistors were for 12V so maybe that's reducing the brightness, but I'm using them anyway.
Again, I had no PCB material, well, proper PCB material. Some dense corrigated card did the job, pin holes punched in. Solder applied at the back although it in no way bonds with the material.
I put it together with the guitar and pad, to get the general effect, posted photos above.
PS: I fixed the nut, sorta... I think theres still a slight hole for the bottom bit to catch into, like its original hole carries on after the gap. I just took the nut off, pulled them out, put it in an placed some padding foam in with it so its secure and grips better. For the moment, its straight, strung up okay, and isn't giving me any problems yet.
Most electrics equiptment should come tommorow.


6 comments:
This is exciting. I can't wait to see and hear the result...
I've got lots of guitar parts if you run short. Let me know if I can help.
hey, cheers for that its much appreciated, I think I'm semi-on-top of things for now though :).
Its great that somebody is actually excited by this, glad I blogged it. I got some posts to make cos I think (although I lack a male to male link cable) I've finished it :S
minus the hold button wihch I'm leaving for now.
I'll be sure to get stuff on..
I gotta say, my guitar is worse for wears.
I might make a post dedicated to explaining how shit it is, so to jusify any sound problems.
Or just put an mp3 player through the kaoss pad an use my guitar to control it
hmm.
lol i'll let you know either way
cheers for your support dude
-adam
Really cool project, nice use of found materials (cardboard for the PCB LOL :))
I'll be following your progress, Youtube fame awaits!
Looks like a lot of fun with the pad.
permenently fixing the bridge on by filling the gaps and holes with araldite putty or something might work if you think it might come off.
I did some diy to my hondo bass, which I wanted to strip and varnish.
I sanded it with a belt sander but found out it was made of plywood and the sander made big holes in it.
also had to stick cardboard under the bridge cos I'd taken off so much wood the strings now touched the frets. To finish, a coat of matt black house paint.
uh, so you better not take my advice. :)
That's great.. This blog post help me to get some more better ideas about led circuit and its design ...
Post a Comment